sketch cherry blossom tree drawing
For many, cherry blossom trees (or a sakura tree) in bloom are one of the most beautiful things in spring. Therefore, it is not surprising that the cherry blossom tree is a popular model for drawings or paintings.
In this article, we will draw a cherry blossom tree together step by step using colored pencils. To follow this tutorial, in addition to colored pencils, we need a hard pencil (H2 or H4, a HB will do in a pinch) for the sketch. If you have never drawn a tree before or want to brush up on some basics, you can take a look at the tree drawing tutorial in advance.
1. Sketching the Trunk and Branches
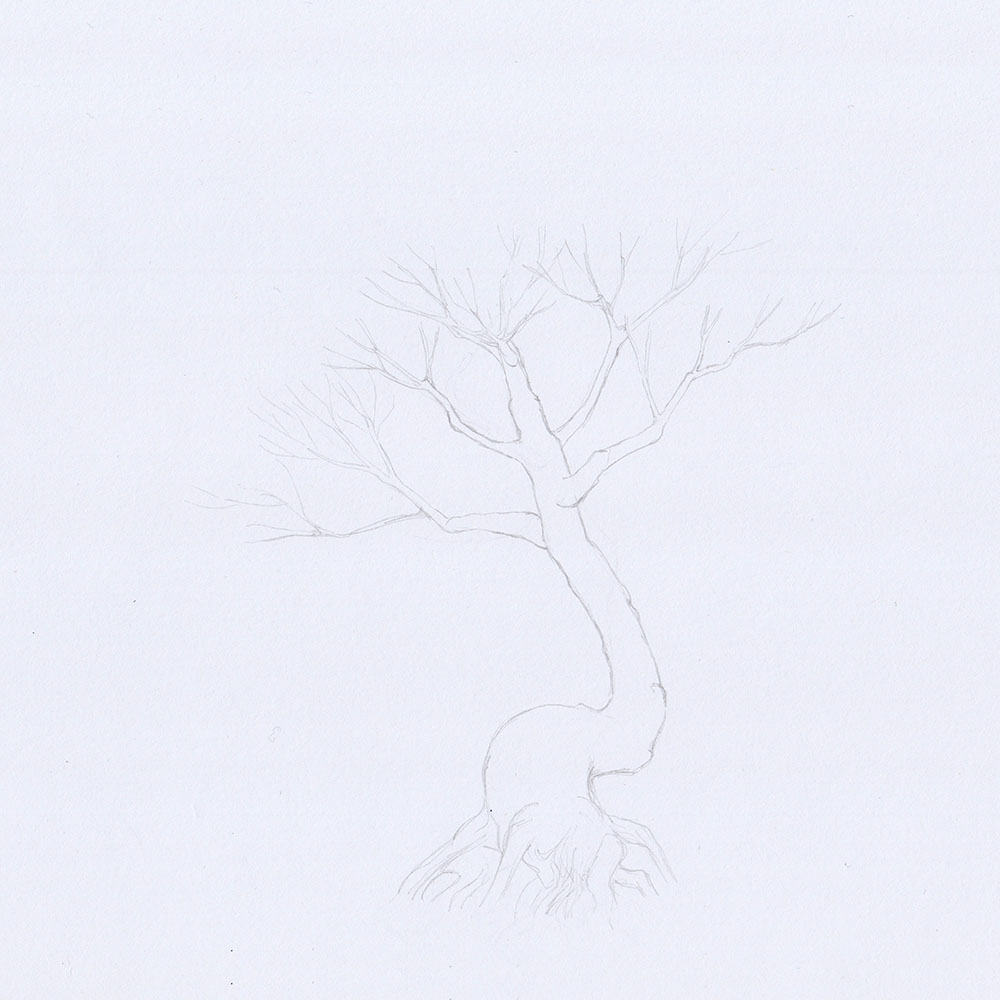
Let's start by defining the trunk and branches in a sketch. For my drawing, I took inspiration from bonsai trees, which is why the trunk is curved in shape.
Depending on your needs, you can also define the crown of the tree in this step, which will later be formed by the many small flowers. For my drawing, I choose not to do this because I'm honestly not sure yet how exactly I want to shape the tree crown.
While drawing, more branches can be added, so we remain flexible.
2. Drawing the Crown of the Tree
Since we are drawing a whole tree, we should not even think about drawing every single cherry blossom. Rather, we indicate the cherry blossoms in the form of small, isolated clusters of strokes, which we can also draw in a circle.
It's best to work our way from the light to the dark colors in places, always paying attention to which branches are further forward and which branches are obscured by others.
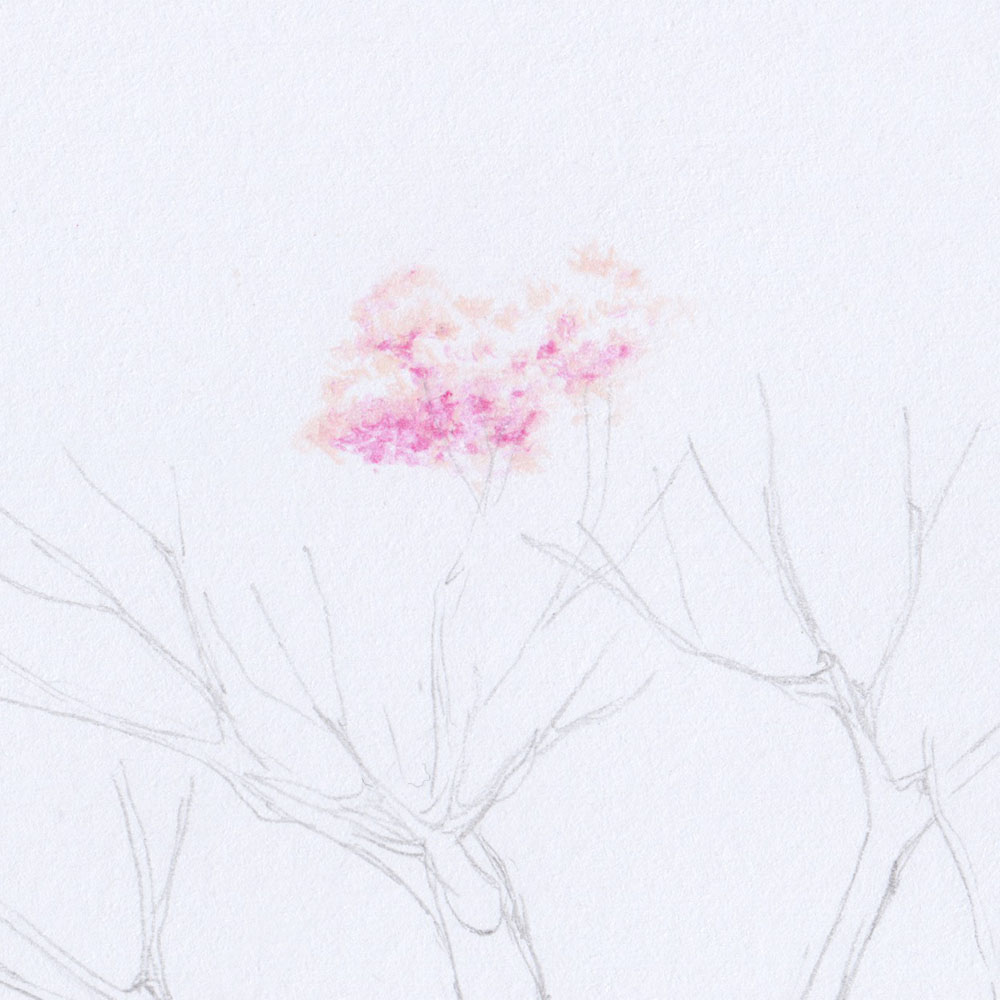
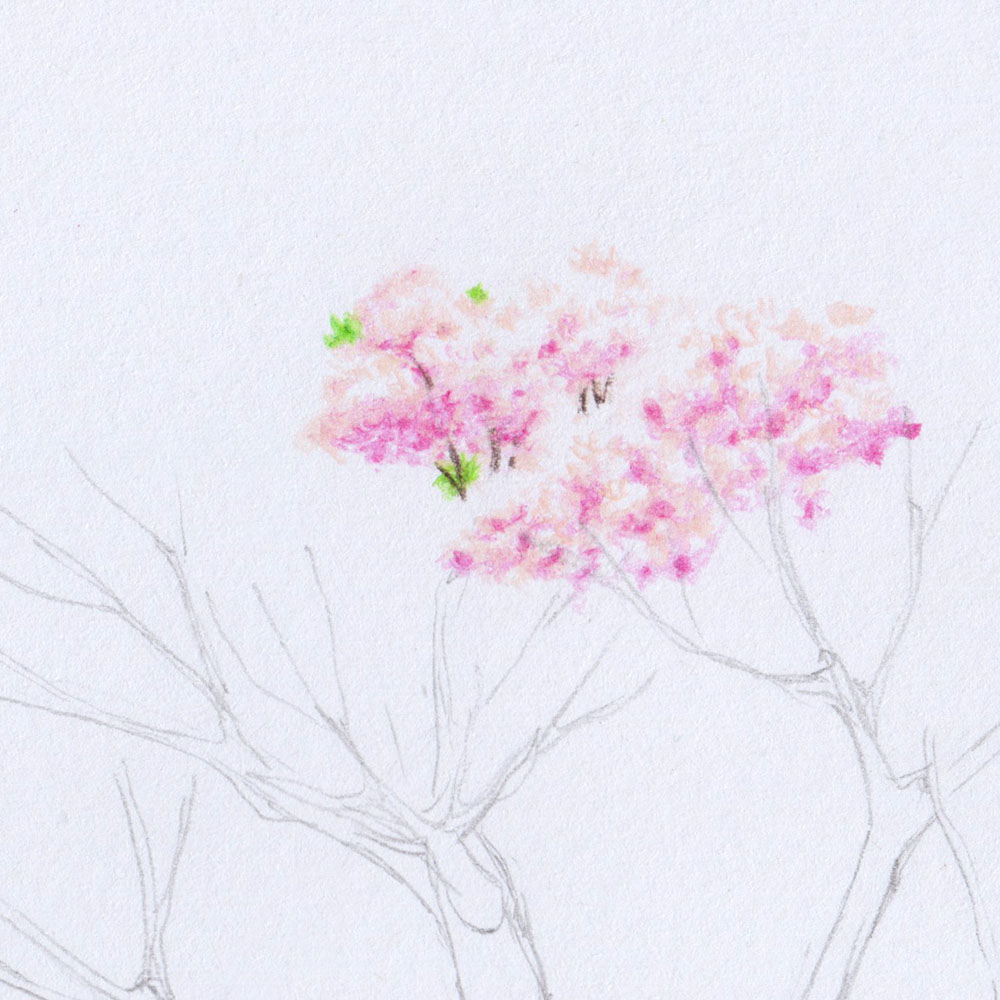
Once we are happy with a spot, we can draw scattered green leaves. I would recommend drawing the dark brown branches only when we are sure what the neighboring spots look like and where they begin or end. To make the branches look more natural, we can let them peek out between the cherry blossoms, but we'd better go sparingly here.
At the beginning, the drawing may look a little strange. But if we continue to draw patiently and the tree crown becomes fuller and fuller, it will look much more realistic and convincing.
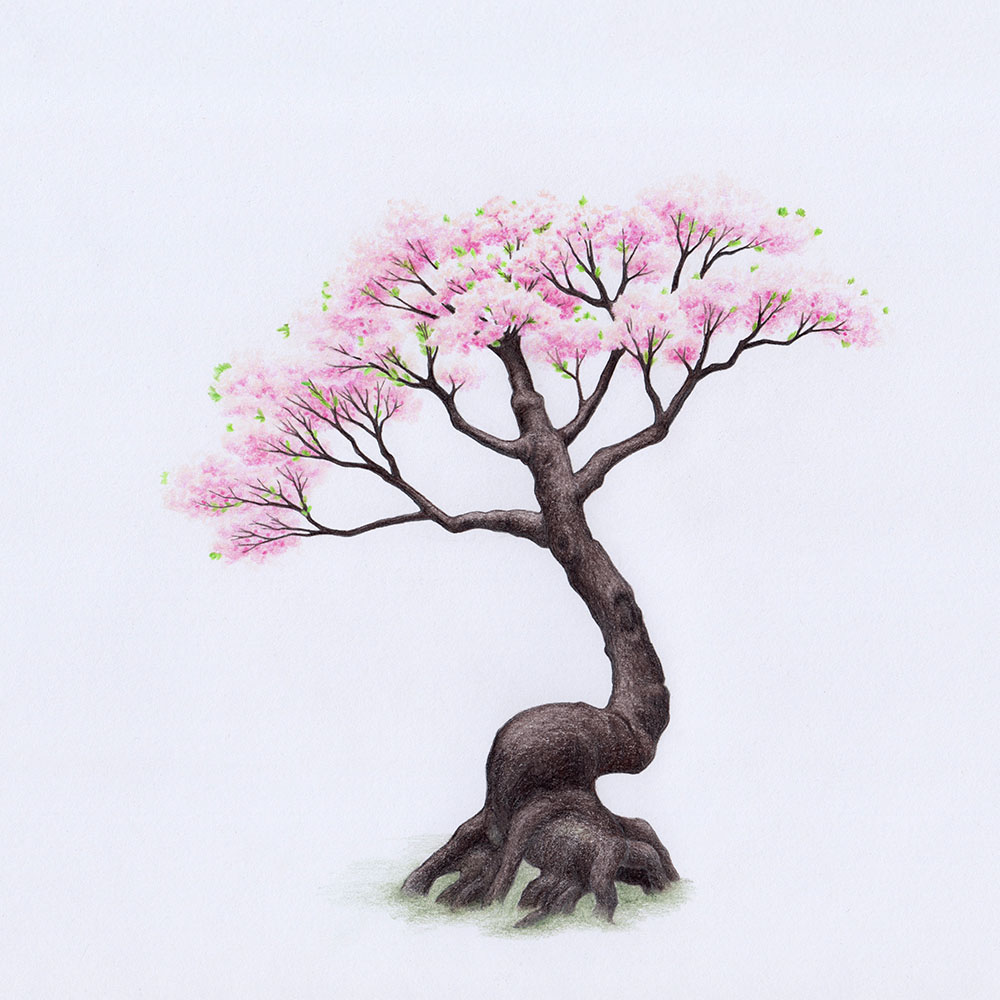
3. Drawing the Branches and Trunk
For the branches and trunk, I use a dark brown colored pencil, an HB pencil, and a precision eraser.
We can draw the branches directly below the blossoms darker if we want, since the blossoms cast shadows on them. However, the further away the branches are from the tree top, the lighter we can draw them. Before we shade the branches and trunk with the HB pencil, we can color everything monochrome with the brown colored pencil.
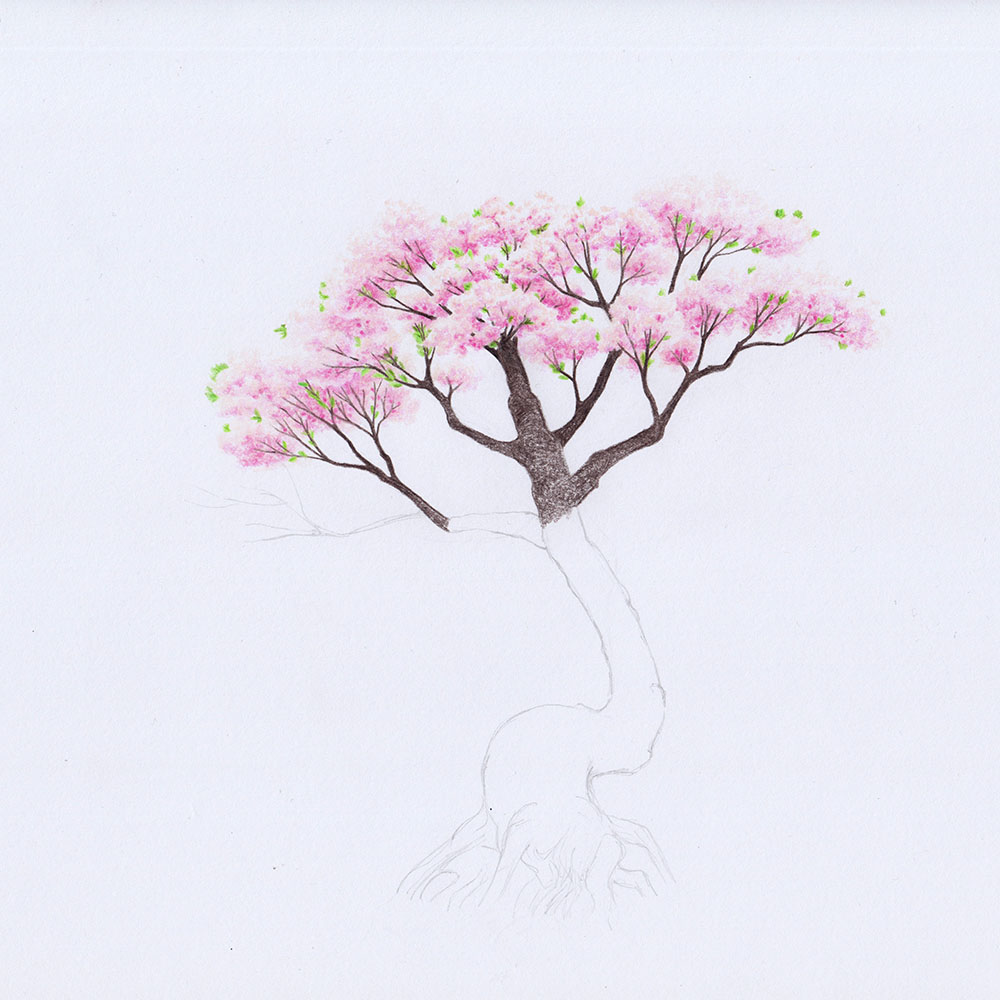
Depending on where the light source is in our drawing, we determine the location of the missing shadows.
In my example drawing, the light is coming from above, so I trace all the lower areas of the branches with the HB pencil to set shadows. I then use the precision eraser to carefully remove a little paint along the upper edges of the branches.
I take a similar approach with the tree trunk and have to say that this alternating use of pencil and eraser brings great joy and adds a lot of texture to the dark trunk.
4. Drawing the Background
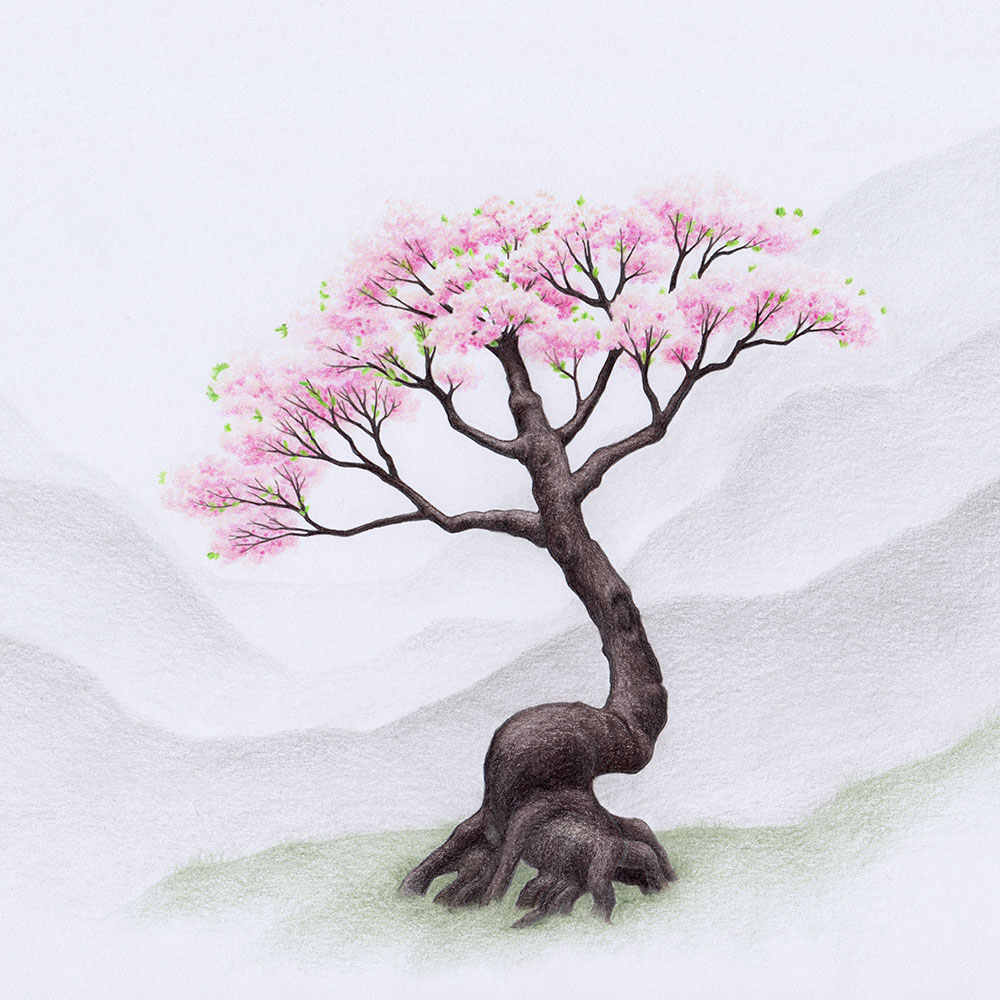
This last step is optional, because the drawing of the cherry blossom tree can look good without a background.
For my drawing I decide to use a very subtle background, consisting of simple mountains drawn in shades of gray that get lighter and lighter towards the background. This way the tree doesn't stand in nothingness, but the background doesn't distract from the tree either and the drawing doesn't look cluttered.
Similar Posts
Source: https://www.how-to-art.com/en/nature/how-to-draw-a-tree/cherry-blossom-tree/
0 Response to "sketch cherry blossom tree drawing"
Post a Comment